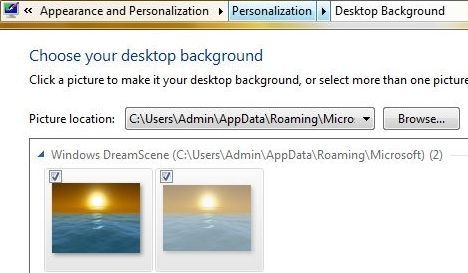
Windows DreamScene is a feature from Windows Vista that allowed you to use a video, movie show, slideshow or even an animated image to be set as a the desktop background. This has been booted out of Windows 7 in favor of Desktop Desktop Slideshow wallpaper auto rotator. If you’re missing DreamScene’s features and want to install it on Windows 7, worry not. You can still install DreamScene on Windows 7 manually with very simple hack to turn it on and enable DreamScene support.
Important Note: You need to have Windows Aero enabled to make the hack work so if you’re on Windows 7 starter, you might want to consider upgrading since you’re missing on quite a few features.
Download: Windows7-DreamScene
How to Install DreamScene in Windows 7
- Download the file linked above (Windows7-DreamScene.zip) and extract it to your PC
- Windows7-DreamScene.exe as Administrator to install and enable Windows DreamScene on Windows 7. This will copy DreamScene.dll to %WinDir%\System32 folder, DreamScene.dll.mui to %WinDir%\System32\en-US folder and add the required registry keys and values.
- Explorer will restart automatically. Don’t panic, it’s normal.
- You now have a Windows DreamScene folder (located at %WinDir%\Web\ folder) that holds all media that you select to use as background for DreamScene as it was in Windows Vista. The catch is that unlike in Vista, with Windows 7, DreamScene is not available on the Control Panel giving you very little control over it.
Using DreamScene in Windows 7

- To apply a video clip (in .WMV or .MPG format) as the DreamScene animated wallpaper desktop background, right click on the video media file.
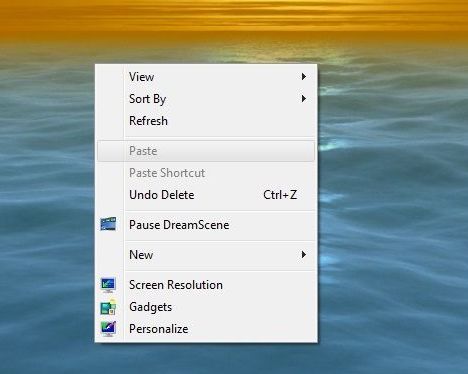
- Select Set as Desktop Background in the context menu. Due to DreamScene been stripped from Windows 7 issue, video files may not be visible inside Personalization and Desktop Background configuration page. However, all features of DreamScene, such as Play DreamScene, Pause DreamScene and sound/audio are supported.
